
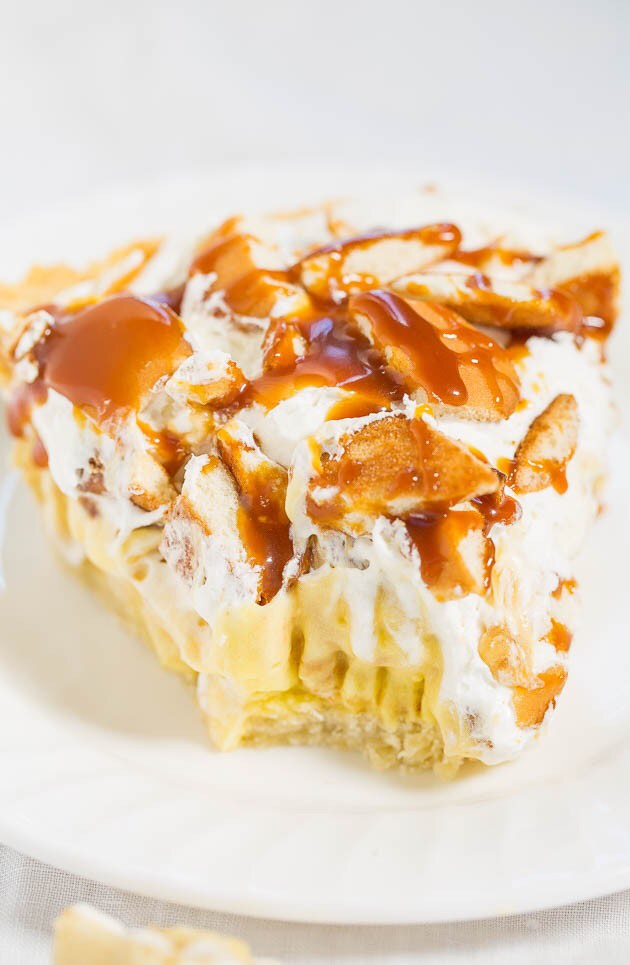
There’s plenty of bananas in every bite and there’s something about bananas, Nilla wafers, and whipped topping that goes together so perfectly and with a salted caramel drizzle, the pie tastes like a fluffy slice of heaven.. The crust is flaky, tender, and unique because there’s cream cheese incorporated and you don’t even have to roll it out. The no-bake filling is made with pudding mix, whipped topping, bananas, and Nilla wafers. I’ve only made the pie using the ingredients listed and can’t speak to what substitutions may or may not work. You’re going to love this quintessential comfort food dessert. It tastes like you slaved over it but it’s one of the easiest pies ever.
Ingredients
Crust
- 1/2 cup Crisco Baking Sticks All-Vegetable Shortening
- 4 ounces (1/2 cup) brick-style cream cheese, softened (do not use lite or fat free)
- 1 1/2 cups all-purpose flour
- 1/4 teaspoon salt
Filling
- 3/4 cup granulated sugar
- 1/4 cup all purpose flour
- pinch salt, optional and to taste
- 2 cups 2% milk
- 1 tablespoon vanilla extract
- 3 large eggs
- 1 8-ounce tub Cool Whip or similar whipped topping, thawed to room temp, divided (lite or fat-free
- okay; real whipped cream deflates easily and isn’t recommended)
- 2 medium/large bananas, sliced into thin rounds (should be ripe but not overly ripe or they become mushy)
- 1 to 2 tablespoons lemon juice
- 2 1/2 to 3 cups coarsely chopped Nilla Wafers, divided (most of an 11-ounce box, reduced fat okay)
- caramel or salted caramel sauce for drizzling, storebought or homemade
Preparation
Crust
- Preheat oven to 400°Fand spray a 9 or 10-inch pie dish with cooking spray; set aside.
- To the bowl of a stand mixer fitted with the paddle attachment (or large mixing bowl and handheld electric mixer), add the shortening, cream cheese, and beat on medium-high speed until fluffy, about 1 to 2 minutes.
- Stop, scrape down the sides of the bowl, and add the flour, salt, and beat on low speed until a sandy, crumbly dough forms.
- Turn crumbly mixture out into prepared pie dish and using your fingertips, hard-pack the mixture to form and even, smooth crust making sure to press mixture up around sides of pie dish.
- Pierce crust in about a dozen places with a fork so steam can escape while baking.
- Bake for about 15 minutes, or until set and very lightly golden brown. Watch crust closely in final moments of baking as it will be prone to burning around the top edge.
- Set aside on a wire rack to cool while you make the filling.
Filling
- In a medium sauce pan combine the sugar, flour, optional pinch of salt, and pour the milk over it.
- Heat this together over medium heat until it begins to boil gently, whisking quite frequently so that pudding skin doesn’t form on the bottom of the pan. Keeping the heat at medium is advised because higher heat will likely cause the milky mixture to scorch. It took a good 15 minutes of the pot appearing to do absolutely nothing for my pudding to finally begin to barely boil because I was compulsively whisking.
- After you see the mixture boil, whisk continually for the next 2 to 4 minutes, or until the pudding has thickened. A transition comes when the pudding gets thicker by the stroke. Use your judgment and when you think the pudding has thickened up sufficiently, take it off the heat.
- Whisk in the vanilla; set aside.
- In a glass measuring cup, whisk together 3 eggs (using the same whisk is fine).
- Add about 1/4 cup of the hot pudding mixture to the eggs, whisking the whole time to temper the eggs so they don’t scramble.
- Slowly pour the contents of the measuring cup into the sauce pan, whisking the entire time so you don’t scramble the eggs.
- Return the pan to the stove, and cook over medium heat for about 2 to 4 minutes, whisking the whole time. This cooks the eggs. You’ll know when the pudding is done and you can take it off the heat. It will be thick, creamy, and will look like pudding. It thickens up as it cools so don’t over-cook it or it can get a little too firm. Take it off the heat; set aside, whisking every few minutes so skin doesn’t form.
- Add half the whipped topping and whisk to incorporate.
- Slice the bananas, add to a medium bowl, drizzle with lemon juice, and use your fingers to gently toss to disperse the lemon juice which helps to prevent the bananas from turning brown.
- Add the bananas to the pudding mixture and fold gently to combine.
- Add about 1 1/2 heaping cups Nilla wafers and fold to combine.
- Turn mixture out into pie crust.
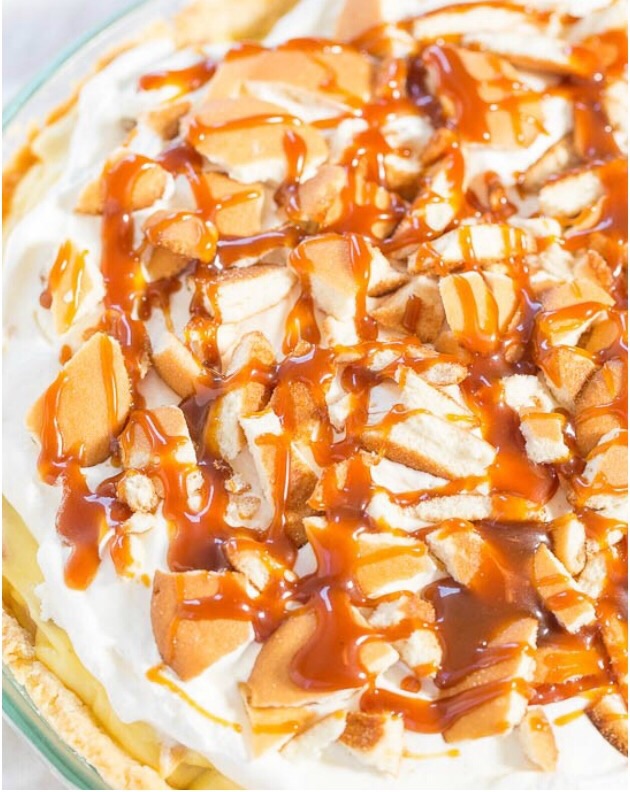
- Add and gently spread remaining half of the whipped topping.
- Sprinkle remaining Nilla wafers, cover with plastic wrap, and refrigerate for at least 4 hours, or until set.
- Prior to serving, drizzle with caramel sauce to taste.
Cook’s Notes
Pie will keep airtight in the fridge for up to 5 days, noting that as time passes the Nilla wafers will soften and bananas could turn a bit brown.


Leave a Reply