
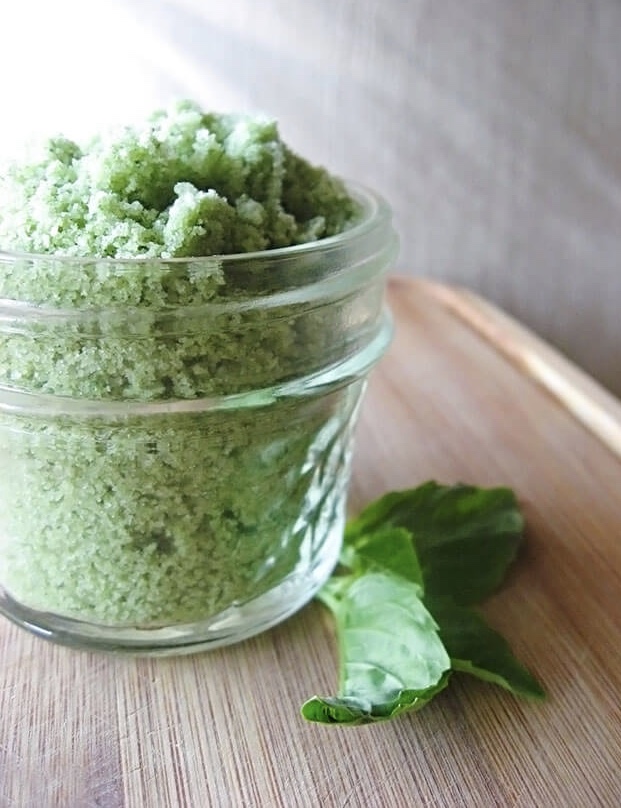
Ingredients
- 1/3 cup of packed fresh basil
- 1 cup of coarse sea salt, coarse rock salt or flaky sea salt (like Celtic, Himalayan, English, Alaskan, French, Mediterranean, or Utah sourced salt)
Procedure
Preparing the Basil Salt
- Measure out your fresh basil (both leaves & stems – the latter has plenty of flavor and it all gets blitzed anyway), then chop into small pieces so it’s easier for the blender to incorporate it with the salt. Place the basil in the blender, or if you’re using an immersion blender, into a large mixing bowl.
- Add the coarse salt and pulse for a minute or two until the basil is completely broken up (in tiny pieces) and mixed with the sea salt. You may need to stop and mix the salt with a rubber spatula during this process. It has a tendency to get stuck at the bottom of the blender. When you’re finished the sea salt will be a fine texture (which is why I started with coarse salt or big flaky salt) and that’s what we want.
Drying The Basil Salt
- Oven-Dried Method (Faster But Slightly Heats Up Kitchen): Spread the basil salt mixture evenly onto a large rimmed baking sheet. Set the oven to 220 degrees and pop the sheet inside. Bake 30 minutes or until the salt is no longer wet, stirring once halfway through. Once dry, the basil salt should still be green, but a lighter shade than when you first started. Break apart any clumps with a wooden spoon or fork and store the finished salt in an airtight container (I prefer glass jars) in your pantry. For best flavor, consume within 3 months.
- Air-Dried Method (Slower But No Heat Needed): Line a large surface such as a baking sheet or cutting board with parchment paper. Spread the basil salt mixture out in a thin, single layer on the parchment paper. Break up any large clumps with your fingers and cover completely with a clean kitchen towel. Place in a cool, dark area where it won’t be disturbed. Let the sea salt sit for 12-24 hours, or until the salt has absorbed all the moisture from the basil and is completely dry. The basil sea salt should still be green, but a lighter shade than when you first started. Transfer it to a container with a tight lid (like a mason jar) and use within three months for best flavor.
NOTES:
#1 – COLOR: When you first blend the basil sea salt, it will be a vivid green color. However, after drying the color will be a lighter green. It’s still colorful, just not as noticeable. If you want it to have a brighter green color experiment with adding more basil (or follow the steps below in note #2) but make sure there is enough salt to dry it out. #2 – FLAVOR: As some of the commenters have pointed out, once the salt dries the basil flavor is much less pronounced. If you want a stronger flavor for a specific recipe, whip up a fresh batch, skip the drying, and stick it straight into the fridge until you’re ready to use it. Ideally, you’d use it the same day you make it and then pull out any leftovers within 1-2 days and dry the rest. # 3 – CLUMPING: Unlike store-bought infused salts, this homemade version doesn’t contain any anti-caking additives, so it will naturally clump over time. Simply give the salt a firm shake or rub the clumps between your fingers to break it up.


Leave a Reply