
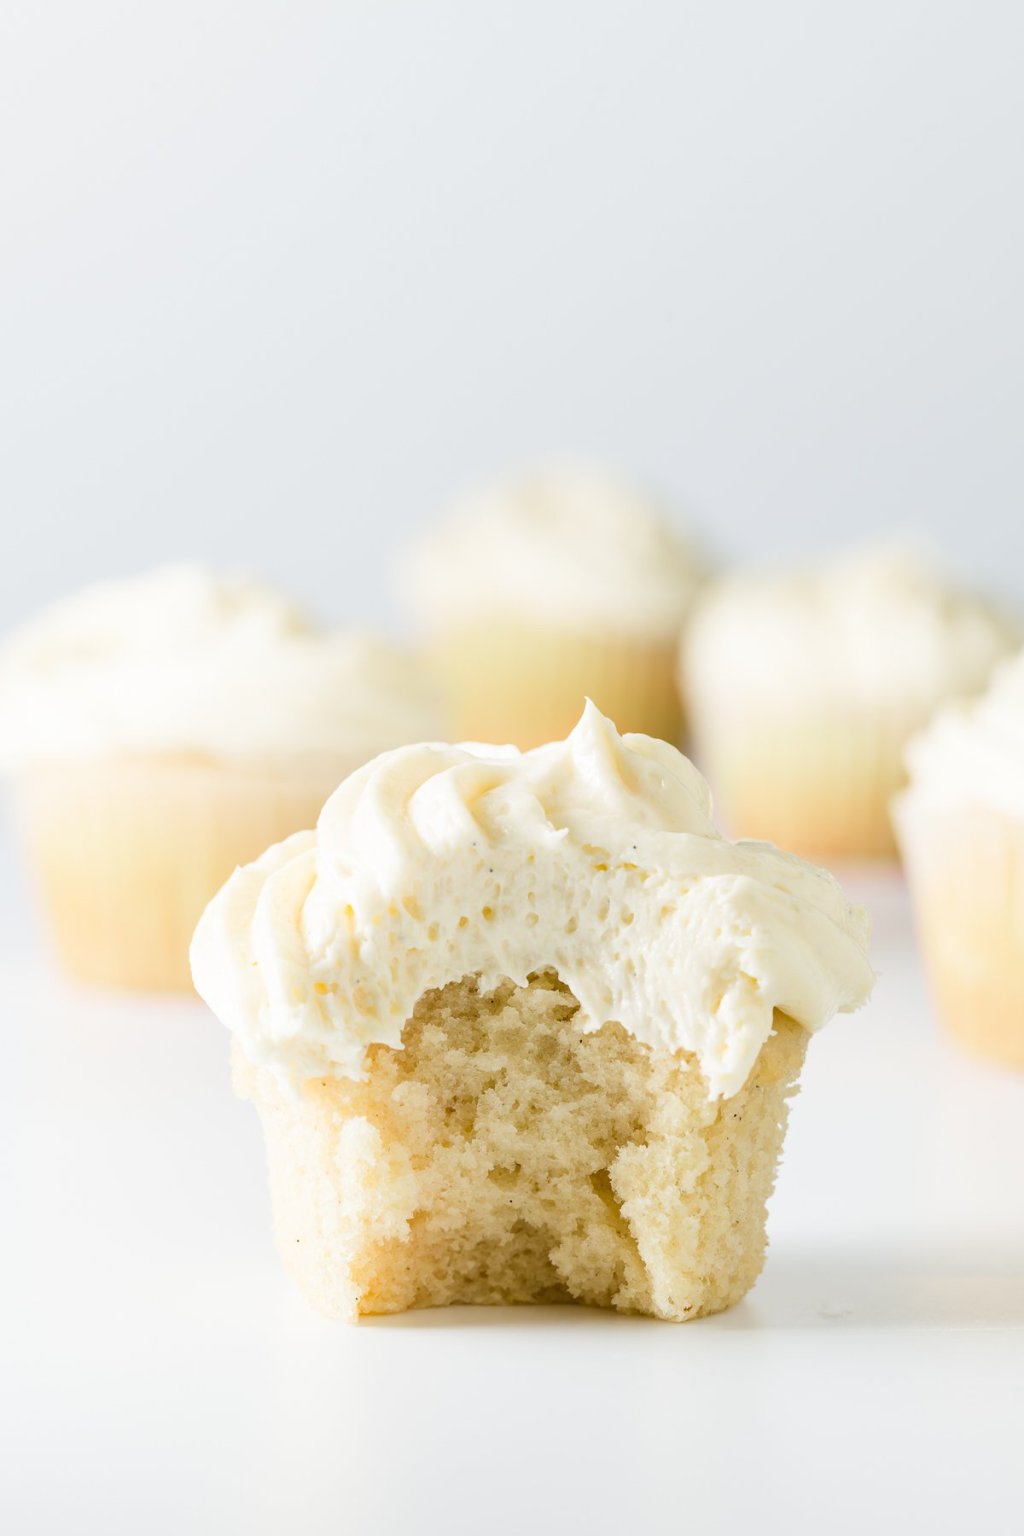
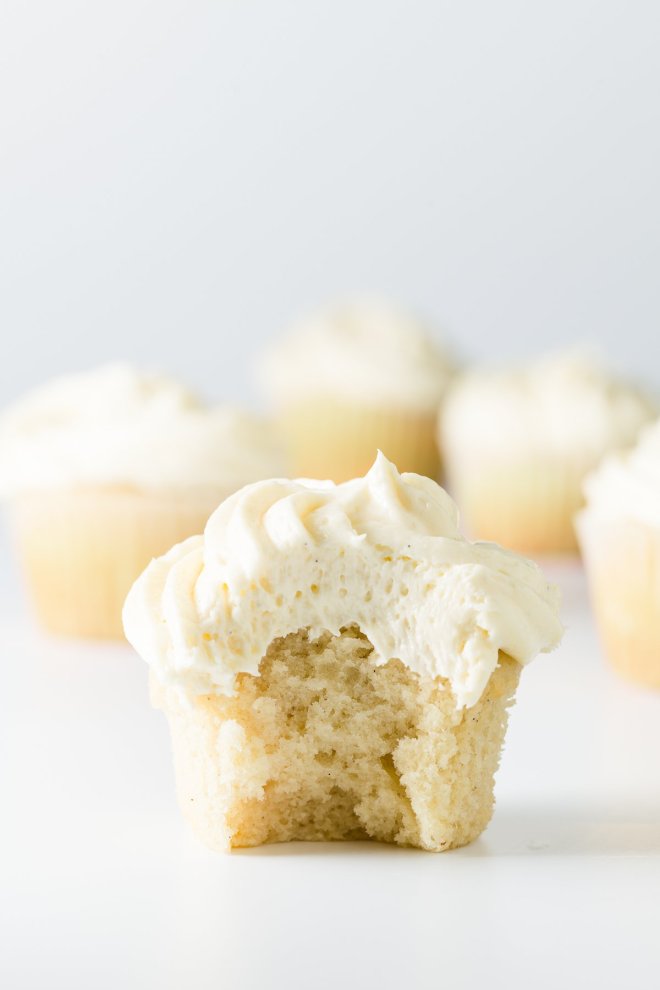
All of the taste-testers agreed these were, hands-down, the very best cupcakes of the bunch. Mixing the softened butter directly into the dry ingredients (a technique called the reverse creaming method) was brilliant: It gave the cupcakes a super-airy texture that was light yet moist. It’s like they had all the best features of a sponge cake (the delicate texture, airiness, and soft crumb) without any of the dryness.
This batter also called for a combination of vanilla extract and vanilla beans, giving the cupcakes a double hit of vanilla flavor that tasted just like a birthday cake. The sour cream and milk kept them moist and gave them a subtle dairy tang that cut through the sweetness. The vanilla buttercream was great, too. It was easy to make and not too sweet. I can’t wait to bake these again and share them with more friends — they are serious showstoppers.
Ingredients
- 1 cup granulated sugar
- 1 vanilla bean
- 1 3/4 cups cake flour, not self-rising
- 1 1/2 teaspoons baking powder
- 1/2 teaspoon baking soda
- 1/2 teaspoon salt
- 1/4 cup unsalted butter room temperature
- 2 large eggs room temperature
- 1/3 cup (40 grams) full-fat sour cream
- 1/4 cup canola oil you can also use vegetable oil
- 1 Tablespoon vanilla extract use pure, not imitation
- 2/3 cup whole milk room temperature
Instructions
- Preheat oven to 350 F (175 C).
- In a small bowl, combine sugar and seeds from the vanilla bean.
- Using the back of a spoon, move around the bowl and apply pressure to break up any clumps of seeds and to better infuse the vanilla flavor into the sugar. Set aside.
- In a medium-sized mixing bowl or bowl of a stand mixer, mix together cake flour, baking powder, baking soda, and salt.
- Add the vanilla bean sugar and mix until well combined.
- Add butter and mix on medium-low speed for three minutes. Because there is so little butter, you’ll end up with a very fine crumb texture.
- In a small mixing bowl, whisk together eggs, sour cream, oil, and vanilla extract until smooth.
- Add the egg mixture to the flour mixture and beat on medium speed until just combined.
- Slowly add milk and mix on low speed until just combined. The batter will be liquid. (Don’t worry, you didn’t do anything wrong. It’s supposed to be that way.)
- Fill cupcake liners just over 1/2 full.
- Bake for 19 minutes and then test to see if they are done. They are done when a toothpick comes out without wet batter stuck to it (205° – 209°). The cupcakes should appear white with specks of vanilla bean. They should not turn a golden brown. If they are not done, test again in two minutes. If they are still not done, test again in another two minutes.
- When the cupcakes are done, remove them immediately from the tins and leave them on a cooling rack (or just on your counter if you don’t own a cooling rack) to cool.
Cook’s Notes
- Use a vanilla bean for the best vanilla flavor. But, you can leave it off and the cupcakes still taste amazing!
- Use cake flour for a lighter crumb.
- Be careful not to over-mix the batter.
- Use room temperature ingredients – everything will mix together more smoothly that way.
- Because everyone’s oven is just a bit different and your liners may be a slightly different size than mine, I highly recommend that you bake a test cupcake before baking your whole batch of vanilla cupcakes. Fill one liner halfway and see how much it rises during the bake.
If you know you’ll need to store your cupcakes for more than 3-4 days, these cupcakes can be frozen without a problem. If you are freezing cupcakes with whipped cream frosting, do not frost them until after removing from the freezer; other types of frosting can be frozen right on the vanilla cupcakes. Also, be sure to store the cupcakes in an airtight container to avoid freezer burn.
Always return refrigerated or frozen cupcakes to room temperature before serving.
Words of Wisdom
Here are some words of wisdom: “Everything has temperature, and in baking it makes all the difference.” Beranbaum believes reverse creaming is a foolproof method for cake—as long as the butter is room temperature. Your butter should be soft, but not so soft that it’s begun to puddle out. By paddling the butter with the dry ingredients, the flour and its gluten-forming proteins become coated in fat, which keeps gluten development to a minimum and results in a more tender cake. Beranbaum adds the room-temperature butter to the well-mixed dry ingredients along with a small amount of the liquid called for in the recipe—“just enough to disperse the fat,” she writes—and then beats it for 90 seconds. This helps to aerate the cake and give it some structure.
If you’ve forgotten to temper your butter (a.k.a. letting it warm up to room temperature), Beranbaum recommends slicing it into several pieces and microwaving it for a few seconds. Steer clear of cold butter, as your cake batter won’t emulsify correctly.
Add the remaining ingredients and avoid undermixing
Finally, you’ll mix your remaining ingredients in a separate bowl and add them to the batter in three stages. Because the flour is coated in fat, it’s very hard to overmix a cake that’s made with the reverse creaming method. But you still need to pay attention! While overworking a cake batter can lead to a tough, dry cake, undermixing can be just as bad. According to Beranbaum, “undermixing does not form enough gluten, which results in a crumbly, coarse grain and a very flat top crust with a slightly fallen center.” The problem won’t be just textural: “If it’s sunken,” she tells me, “it’s likely the cake wasn’t baked properly, which alters the taste.”
With Beranbaum’s dependable method, you could have cake batter made and in the oven in less than ten minutes. Reverse creaming may not feel intuitive if you’ve always started your cakes by creaming butter and sugar first. But the method shaves quite a bit of time off of the preparation—and guarantees you won’t waste any more time eating tough, disappointing cake.


Leave a Reply