
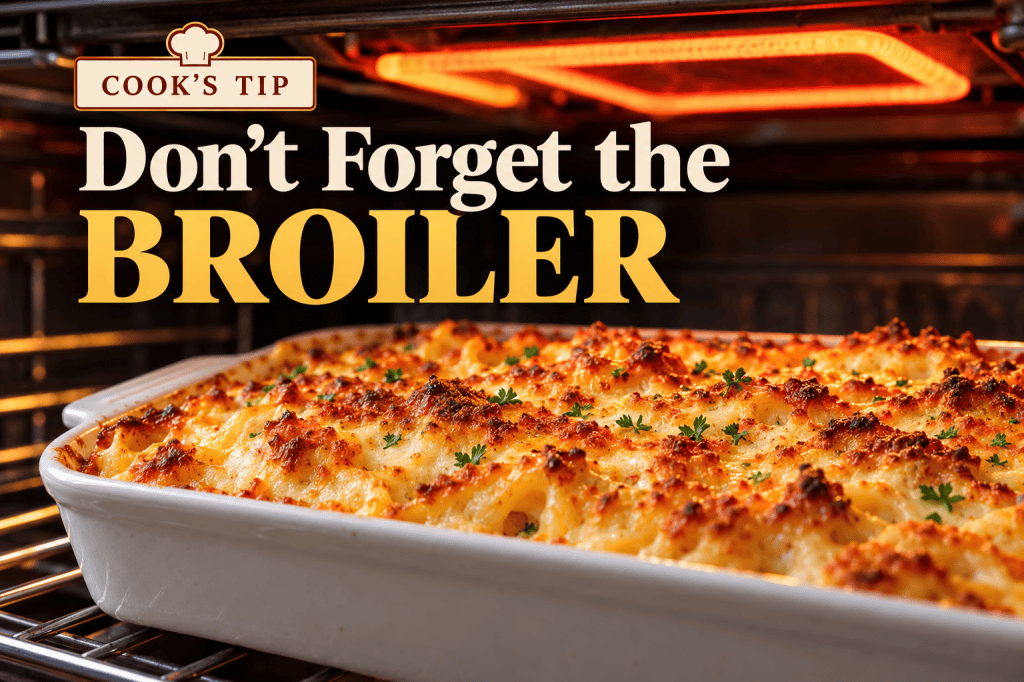
The broiler is one of the most underused tools in the kitchen. Think of it as an upside-down grill: instead of surrounding food with moderate heat, it directs intense heat onto the surface from above. That makes it ideal for food that is already cooked—or nearly cooked—but needs better browning, crispness, bubbling, blistering, or caramelization.
Used properly, the broiler can transform a pale casserole, crisp the cheese on a gratin, blister vegetables, brown seafood and meats, toast breads, finish hot sandwiches, and restore crispness to leftovers.
Position the Oven Rack Correctly
The distance between the food and the heating element determines how quickly and aggressively it will brown.
For most foods, position the rack about 5–6 inches below the broiler. Move it closer for fast browning or blistering, and farther away for thicker foods that need more time to heat through.
Use these distances as a starting point:
- 3–4 inches: Fast browning, melting, blistering, and toasting
- 5–6 inches: Best general-purpose broiling position
- 7–8 inches: Better for thicker foods that need additional cooking time
Every oven is different, and some broilers are considerably more powerful than others. Treat these distances as guidelines, then let the food—not just the clock—tell you when it is ready.
Preheat the Broiler
Allow the broiler about 5 minutes to preheat before adding the food. Starting with a fully heated broiler encourages rapid browning instead of slowly warming the surface.
If your oven has High and Low settings, use High for quick browning and thinner foods. Choose Low for thicker foods that need more time to heat through before their surfaces become deeply browned.
Use the Right Pan
Broilers produce intense, direct heat, so choosing the right cookware is essential.
Good options include:
- Rimmed metal baking sheets
- Broiler pans
- Cast-iron skillets
- Stainless-steel skillets and roasting pans rated for broiler use
Never use parchment paper under the broiler. Avoid cookware with plastic or wooden handles, and use glass or ceramic cookware only when the manufacturer specifically identifies it as broiler-safe.
For easier cleanup, line a metal baking sheet with heavy-duty aluminum foil when appropriate.
Quick Tip: Should the Oven Door Stay Open?
Older recipes sometimes instruct cooks to leave the oven door partially open while broiling, but that is not correct for every oven. Check the manufacturer’s instructions for your particular model. Many modern ovens are designed to broil with the door completely closed.
Dry the Surface for Better Browning
Moisture is the enemy of browning. Pat meat, seafood, and vegetables dry before adding oil or seasoning, and drain especially wet ingredients thoroughly. The drier the surface, the more quickly it can brown instead of steam.
Use oil sparingly. A thin coating encourages browning, while excessive oil can smoke under the broiler’s intense heat.
Finish Casseroles, Gratins, and Baked Dishes
One of the broiler’s greatest strengths is finishing food that is already cooked. A casserole, gratin, baked pasta, scalloped potatoes, or breadcrumb-topped dish that tastes wonderful but looks pale may need only 1–3 minutes under the broiler.
This technique is especially useful for hot dips and spreads that need a bubbling, browned top.
Rather than baking a finished dish longer and risking an overcooked or dried-out interior, let the broiler concentrate heat exactly where it is needed: on the surface.
Quick Tip: Give Breadcrumbs a Head Start
For an especially crisp, evenly browned topping, lightly toss breadcrumbs with melted butter or oil before sprinkling them over a casserole or gratin. The thin coating of fat encourages faster, more even browning under the broiler.
Brown and Blister Vegetables
Roasted vegetables sometimes become tender before they develop enough color. Instead of continuing to roast them until they become too soft, switch to the broiler for the final few minutes.
Broiling works especially well with tomatoes, peppers, corn, broccoli, cauliflower, asparagus, green beans, Brussels sprouts, cabbage, and onions.
Arrange the vegetables in a single, uncrowded layer, coat them lightly with oil, and expose as much surface area as possible to the heat.
Quick Tip: Don’t Forget the Citrus
Halved lemons, limes, oranges, and grapefruit can be briefly broiled cut-side up. The intense heat caramelizes some of their natural sugars and develops lightly charred edges. Try broiled citrus alongside seafood, meats, or vegetables, or squeeze the warm juice over the finished dish for an extra layer of roasted citrus flavor.
Finish Meat and Seafood
The broiler can create excellent surface browning on steaks, chops, chicken, hamburgers, and seafood.
Thin cuts may cook entirely under the broiler. For thicker cuts, it is often better to cook them primarily by another method, then use the broiler at the end to develop a browned crust.
Fish is particularly well suited to broiling because it cooks quickly. Salmon and other sturdy fillets can develop beautifully browned edges while remaining moist inside.
Always use internal temperature—not surface color alone—to determine doneness when cooking meat, poultry, or seafood.
Melt and Brown Cheese
When you want cheese not merely melted but bubbling, browned, and slightly crisp around the edges, the broiler is the right tool.
Use it to finish nachos, enchiladas, lasagna, baked pasta, macaroni and cheese, gratins, casseroles, French onion soup, and hot appetizers.
It is especially useful for dips and spreads, where a golden, bubbling cheese layer makes the finished dish even more appealing.
Cook the dish normally first, then use the broiler briefly at the end.
Toast Bread Quickly
The broiler can toast breads remarkably quickly, making it useful for crostini, garlic bread, bruschetta, and other toasted breads.
Arrange the slices in a single layer and watch them continuously. Depending on the rack position and your oven, bread can go from pale to deeply toasted in less than a minute. If both sides need browning, turn the bread once.
Make Better Hot and Open-Faced Sandwiches
The broiler is particularly useful for sandwiches topped with cheese or other hot ingredients.
If the filling is moist, lightly toast the bread first. Add the toppings, then broil just until the cheese melts, bubbles, and begins to brown. This keeps the bread crisp while producing a hot, restaurant-style finish.
The same technique works especially well for toasts and snack sandwiches.
Restore Crispness to Leftovers
The microwave is convenient, but it often makes crisp foods soft. The broiler can restore browned edges and crisp surfaces to pizza, roasted vegetables, casseroles, baked pasta, garlic bread, roasted meats, and hot sandwiches.
For thick or refrigerator-cold leftovers, heat them through first, then switch to the broiler briefly to restore their surface texture. Trying to reheat a thick, cold portion entirely under the broiler can burn the outside while leaving the center cold.
Be Careful With Sugar
Sugar browns exceptionally quickly under direct heat. Barbecue sauce, honey, maple syrup, fruit preserves, and other sweet glazes can go from beautifully caramelized to burned in seconds.
Whenever possible, add sugary sauces and glazes near the end of cooking, then broil just long enough to caramelize them.
Quick Tip: Protect What’s Already Brown
If one portion of a dish is browning too quickly while another needs more time, loosely shield the dark area with a small piece of aluminum foil. The exposed areas can continue browning while the foil protects the portion that is already where you want it.
Keep Food in a Single Layer
Broiling depends on direct exposure to radiant heat. Crowding the pan blocks that heat and traps steam.
Arrange food in one uncrowded layer whenever possible. If necessary, use two pans or work in batches.
Rotate for Even Browning
Broilers often have hot spots, so one side of a pan may brown faster than the other.
If you notice uneven coloring, rotate the pan 180 degrees during broiling. This is especially helpful for casseroles, gratins, bread, and large pans of vegetables.
Quick Tip: Be Ready Before You Broil
Broiling moves quickly. Before the food goes under the heat, have dry oven mitts, tongs or a spatula, and a heat-safe place for the hot pan ready. Once the food begins browning, you should not have to leave the oven to look for anything.
Never Walk Away
This is the most important broiling rule: stay in the kitchen and watch the food.
Broiling happens quickly. The difference between beautifully browned and burned can be less than a minute.
Watch closely from the beginning. Once the food starts developing color, check it every 30–60 seconds and rotate the pan if necessary.
When instructions say to broil “until browned,” the appearance of the food—not the clock—is the final authority.
The Broiler Rescue Trick
Before deciding that a finished dish needs more baking time, ask: Is it actually undercooked, or does it simply need more color and texture?
If the inside is properly cooked but the surface looks pale, soft, or uninteresting, additional baking may simply dry out the food.
A brief trip under the broiler can turn pale cheese golden and bubbling, crisp breadcrumbs, blister vegetables, caramelize exposed edges, and give a finished dish the appetizing color and texture it was missing.
Carter Family Recipes Rule of Thumb: When the inside is done but the outside needs more color, bubbling, blistering, or crunch, reach for the broiler—not more baking time.


Leave a Reply